Hello, crafty peeps! Today I am sharing a card I created for Valentines Day using MY VERY FIRST STAMP by Inkadinkado. I remember looking at this stamp 2 years ago thinking, ” What I am supposed to do with it.” This time around I did better with it by implementing all the coloring tips I learned from The Daily Marker creator Kathy.
I colored the hearts with Copics and added details with Gelly Roll pen. Shadowing with C2 marker made the images pop a little! I cut out the hearts with an unbranded stamp die and adhered it to the card base. A bit of ribbon and a few stamp images by Lawn Fawn, and the card is finished. I am totally surprised by the results.
Thank you for stopping by; looking forward to seeing the projects created by my new crafty buddies!
Good evening, crafty friends! I have been coloring every day for at least 15 minutes: #thedailymarker30day is an amazing challenge to work on your coloring skills and learn many tricks and tips from the challenge’ creator Kathy. Visit her blog The Daily Marker to check out videos on coloring with difference mediums.
I purchased my first digital stamp Peony Love by Power Poppy : a digital stamp is basically a printable image that you can size to fit on a card base. I fell in love with beautiful florals by Marcella Hawley: the images are so big and bold. I also downloaded a freebie ”Let it Be” image that would make a great card.
I used Copic markers to color the wreath adding accents with a white Gelly roll pen and shadow around the wreath with a cool gray C2 marker. The You trio die and All About You stamp set by My favorite Things came in handy again. I also applied Glossy Accents to two flower centers and added glitter finishing touches to the die cut with Wisk of Stella.
I am so thankful for all of you who had time to visit my blog. I cannot wait to see what you are creating. Happy Crafting, everyone!
Good morning, crafters! I am on my blog today to share a water coloring project that I have created for #thedailymarker30 challenge that is taking place on Instagram right now.
Card Details
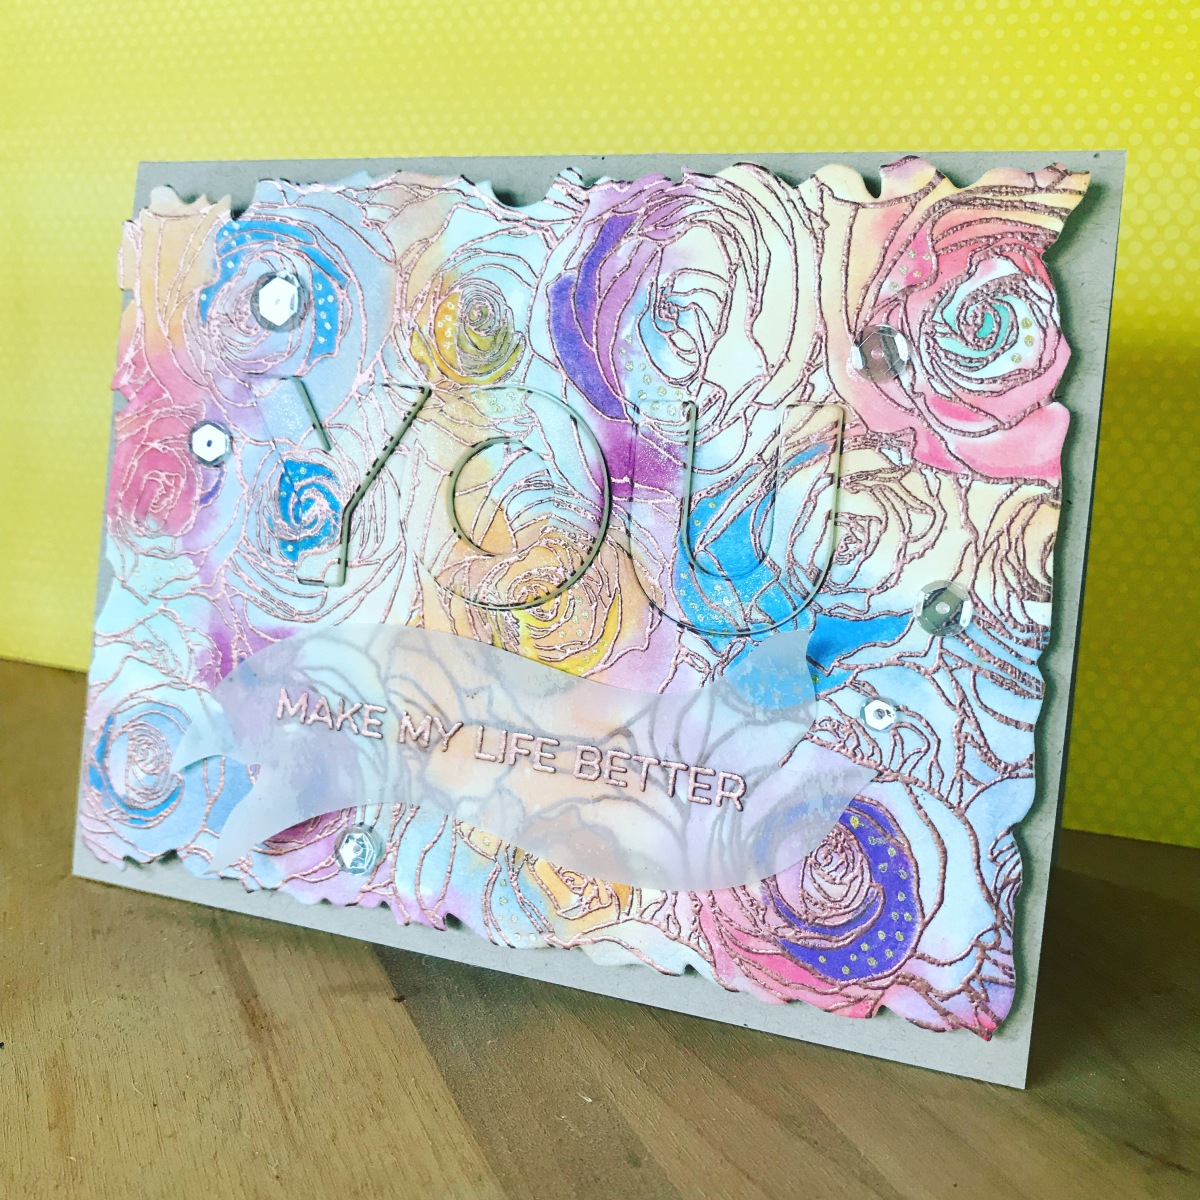
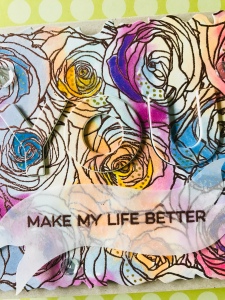
I have water colored with distress inks for a while, however I felt that I did better with a distress ink blending technique. I decided to give water coloring another try since I got My Favorite Things Roses All Over background stamp for Christmas (Santa has been so good to me). So many beautiful cards have been created using this stamp: it is perfect for many techniques and occasions.
I stamped and heat embossed a watercolor paper panel with Wow Metallic Copper embossing powder: this powder matches perfectly with gold and sparkling clear sequins.
I slightly wet my paper and applied distress inks with a brush in no particular order. The distress inks blend so beautifully, however watch out for color running if your paper is too wet. Dab access water with a paper towel. I wanted my card to be colorful so I went with a selection of rainbow colors. I shaded some areas with Prisma Color pencils and added dots with a gold gel pen.
The technique of inlaying die cuts is popular right now, and the results are stunning. I cut YOU with one of the dies from You Trio by My Favorite Things 4 times, glued them together, and then in laid them onto the card panel. I heat embossed a sentiment from All About You stamp set by My Favorite Things on a flag die cut. Adding a few sequins made the card a little bit more festive.
I hope I inspired you to color with distress inks and create your own project. Coloring with this medium is a little bit unpredictable, and you will end up with a surprise result every time. Try adding details with gel pens and pencils on hand ( I learned these tips from TheDailyMarker.com). Create a card today and share it with the wonderful crafting community!
Good morning, crafty friends! #thedailymarker30day challenge on Instagram has begun on January 15, 2018 and is running through February 15, 2018. Log into your Instagram accounts and check out amazing coloring projects from crafters from all over the world. I have participated in at least 2 Daily Marker coloring challengers, and had a blast. Pull out your stamps and get creative: you can use any coloring medium.
I have recently purchased a pack of 24 Prisma Color pencils, and I am giving them a try. I love how bright the colors are! I am thinking about purchasing the gamsol and a colorless blender pencil for better blending. Posting several coloring projects; I have already made one into a card for my sister’s first wedding anniversary.
Go to The Daily Marker blog and YouTube channel to learn more about the coloring challenge and discover amazing tips and tricks that will improve your coloring in no time. Kathy, an amazing crafter behind this challenge, will inspire you with her stunning projects. Have a great weekend and happy coloring from Sunshine and Cards.
Hello, friends! Crafting community is the best, I connected with so many amazing crafters over FB and Instagram via groups and posts. My new Instagram friend sent me a beautiful card for Christmas, and I am returning the favor. I laid out some new stamp sets that I bought last year, and picked out Enveloper Choice stamp set by Waffle Flower. The lion and cat images really capture your eye, and are so unique!
Card Details
I wanted to get away from A2 format while making this project: a square card seemed appropriate, as it would allow centering the image. I used the largest scalloped square die out of Stampin’ Up Squares Collection Framelits set to create a card base out of Neenah Solar White 80 LB cardstock. I die cut two scalloped squares, scored one at the top, and adhered them together to form a card base. Then I thought of the Neat and Tangled blue sequin mix that would match the Indigo ink: a shaker card it is! I double stamped the lion with Indigo Ink by Stampin’ Up. I Googled the complementary colors and found out that yellow is complementary to Indigo. I die cut the frame with Stampin’ Up squares and stenciled it with Drawn Hearts stencil by Simon Says Stamp, using several shades of yellow distress inks.
I assembled the shaker using strips of craft foam, a piece of transparent window sheet, Starry Night Sequin mix by Neat and Tangled, and Glossy Accents as an adhesive, and glued it to the card base with a tape runner. I added a gold hello die cut by Simon Says Stamp.
I hope you have had a productive crafty weekend. Thanks for visiting my blog: make a hello card for a friend or a family member who was kind to you lately.
Hello, crafters! I am sharing my latest card that I created for a fellow crafter from Canada that I have been exchanging cards with for a year. Using friendship and snail mail themed stamp sets are perfect for handmade card exchanges. I would really love to have the Crafty Friends stamp set by Altenew with a variety of fun sentiments to add to my stamp collection, however I am working on craft space reorganization at the moment so I will have to wait on that one.
I recently discovered Flora and Fauna Clear Stamps and fell in love with their product: the images are so whimsical, and the stamp sets offer multiple stamps for scene building and envelope stamping. I am using Snail Mail stamp set today to create my card and a stamped envelope.
Snail Mail stamp set by Flora and Fauna clear stamps
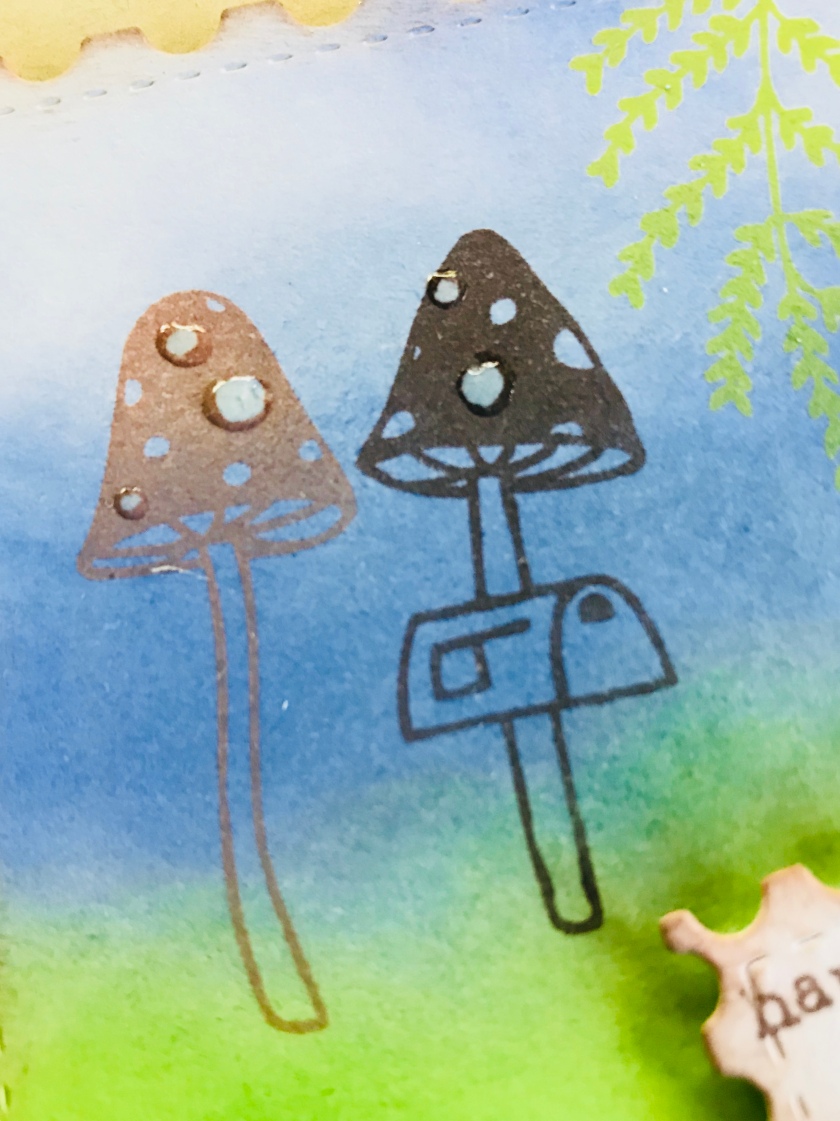
My crafty goal this year is to work on scene building, so I started working on this technique with my project. I had a piece of cardstock out on my table and kept arranging the images until I came up with a scene: a snail carries an envelope to a mushroom mail box. I added branches to frame the scene and another mushroom aside the mushroom mail box.
card details
I decided to use my favorite distress inks to quickly create a background instead of die cutting layers. Then I stamped the images over the background with Color Box pigment inks. To make my scene multi dimensional, I stamped a tiny envelope and fussy cut it, and added a heart sticker. The sentiment was stamped and die cut with the smallest of my new unbranded stamp frame dies, then I popped both die cuts up with the craft foam.
unbranded stamp frame dies
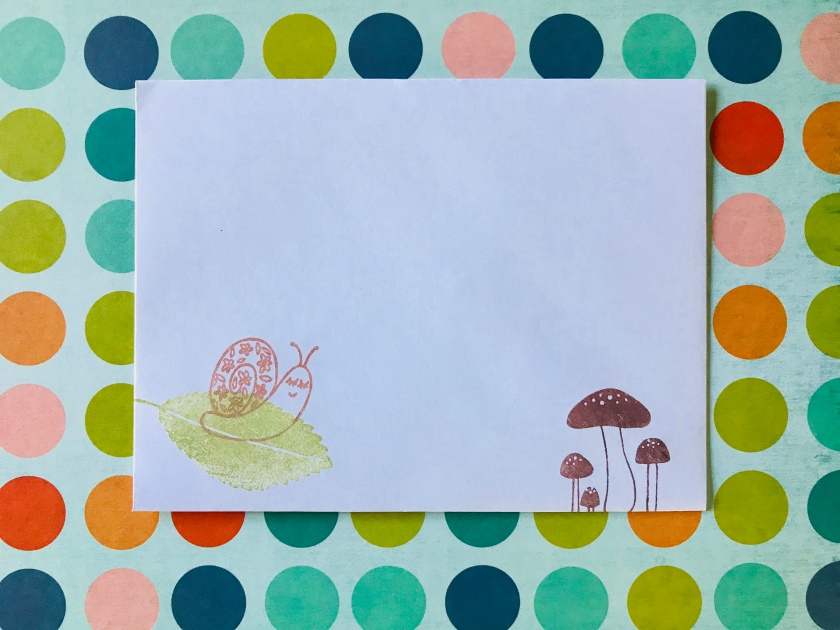
I used the stamp frame die to cut a background and added a layer of the craft foam, then adhered it to the A2 card. I added Glossy Accents to snail eyes and spots on mushrooms. To finish off the project, I stamped the envelope with a leaf, another snail stamp, and a mushroom cluster available in the set.
card details
I have recently added craft cardstock to my paper collection; Neenah Desert Storm 100 LB paper is so beautiful and sturdy enough for card bases. The white card stock I used for the card topper is Stamp’ Up shimmery white card stock I had left over. The edges of sentiment and card topper have been distressed with ink using a sponge to add dimension.
envelope
I really enjoyed making this card, I hope I inspired you to create a card for a friend or a loved one using distress inks and stamps that you have in your crafty stash. I will continue to work on scene building during New Crafty Year 2018. Create a project today and share it with someone special in your life.
My name is Lana Klair, and I live in a small town in Florida, USA. I have been making cards for 2 years now. I wanted to start a blog to share my love of card making. I made my first card 15 years ago for my first wedding anniversary, and fell in love with the craft. Finally, I have a little bit more time to dedicate to crafting and really enjoy making cards, and sending happy mail to family and friends. There is something incredible about selecting a stamp set and other supplies, finding inspiration, and sitting down to a craft table to create a card with a special person in mind. I hope that you pop in to read my blog and check out my cards, and hopefully feel inspired to create your own project. Create something great today!